We may earn a little money from products if you click some of the links mentioned in this blog. You have been officially notified.
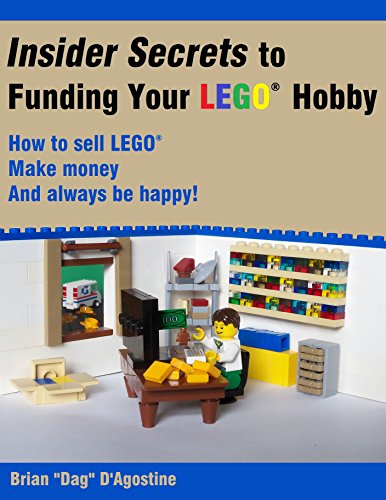
The very first thing you should do, is download and read a short book by Brian D’Agostine called Insider Secrets to Funding your LEGO hobby. Of the several books I started with, it is far and above the best. The money I spent on it was the best investment I made in my store. Seriously. Go do it now. I’ll be here when you get back.
And you came back! Good. So if after reading the book, you STILL want to open your own online brick store, here are the steps I recommend:
Step 2: Open a Paypal account, if you don’t have one already. You need a way to get paid by your customers, and Paypal is the most common. Paypal also offers both buyer and seller protection if something goes wrong.
Step 3. Upgrade your existing Bricklink account to a seller account. This can take a while to process on their end, so be patient. If you don’t already have a Bricklink account, set it up from scratch. Don’t add inventory yet. That comes later.
A note about BrickOwl: We will be adding a BrickOwl store later in the process, but you don’t need to do that yet. Although it is possible to start out with BrickOwl instead of Bricklink, and both platforms are great, I found it easier to load on BrickLink first (Personal bias). See our post on Bricklink vs. BrickOwl (forthcoming)
Step 4: Download and install BrickStock. We use BrickStock to help us decide what new sets are good part out values, and when adding both new and used parts to our store. BrickStock is open source, which means you can download and use it for free. BUT, once you’ve made a few sales, pay the registration fee to compensate the developer for their work. It’s the right thing to do. Check out some of the excellent youtube videos on how to use BrickStock.
Step 5. If you haven’t already done so, sign up for our email list. Be sure to include your country, so that if we send you links to LEGO® sales deals, they are ones you can actually have shipped to you!
Step 6. Start sorting!
